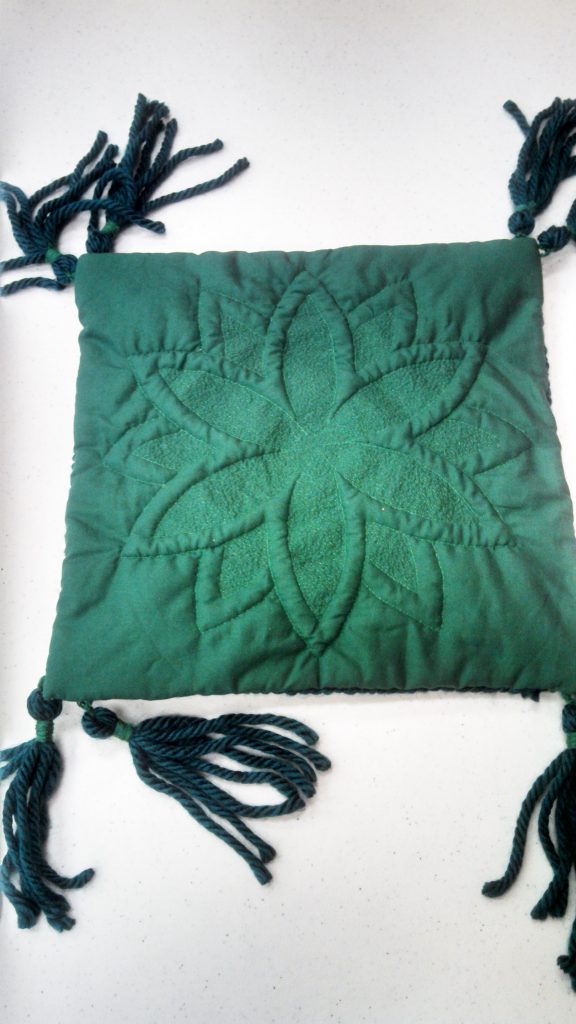
 Dancing needles flashing in and out of cloth has been absorbing my art time the past few months. I taught a class on smocking and one on net darning in November and that took a lot of prep work. But I have devoted some time to “me” projects as well.
Padded Work Project (June-July)
In June I attended a two-hour class on padded work. The “simple” project took several weeks to complete, but I got it done!
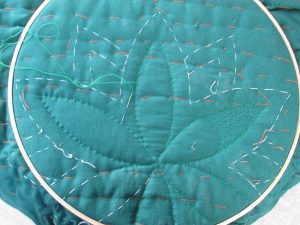
First I basted the fabric together with bright red thread. Next I drew the teacher-provided design using chalk and then basted that using white thread because the chalk was going to come out quickly with all the hand work.
Now the fun starts. I put in the true outline, slowly removing the basting. At the same time I started the speckling – itsy, bitsy stitches bringing down the fluff. In the first photo you can see the right flower petal is half-completed.
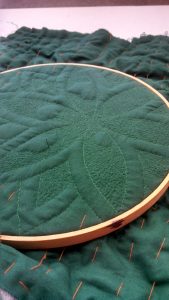 I bounced around a lot, as you can see in the second photo. The leaves were nearly completely speckled, but the big bumps on each of the flower petals still needed work.
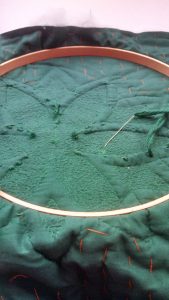 Eventually I got all the outline and speckling done. The last major step of the embroidery part of the project is to run thick yarn through the edges of all the flower petals, raising them even higher next to the matted down speckling. I did though through the back of the project.
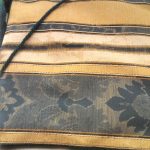 With the embroidery complete, I needed to back the padded work pillow. I added yarn around the edge to hide where I joined the backing fabric to the embroidery ground.
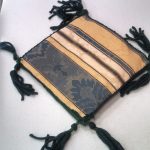
Next came the tassels, because throw pillow should have tassels. I made them from the same yarn I edged the pillow in.
And Complete. 