
Rose Garden Delivered – Herb Garden Taking a Bit Longer
As mentioned in March, I’ve been working on my yard.
.
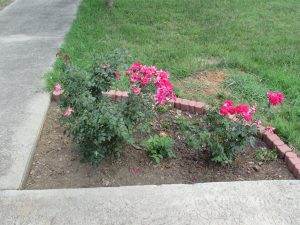 ROSE GARDEN
The Red Roses came in nicely, but my white rose bush (the center one) succumbed to black spot. I had to completely cut it back to the base. It is trying its best to make a comeback, but the challenge may be too great for the poor thing.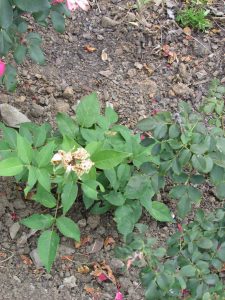 I am debating just pulling it because of the black spot risk to the red roses.
.
I mentioned my second goal for the yard for the year is getting the rose garden leveled. A drop of three to six inches happens between the edge of the driveway and the sidewalk, creating a low spot within the garden for spring rains to accumulate, likely contributing to the black spot issues.
.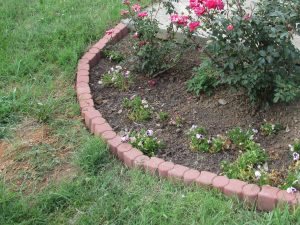
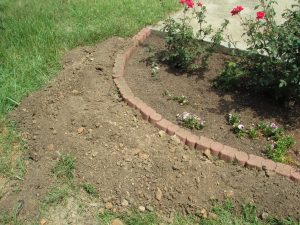
So I attacked it, adding several bags of dirt and using the area as a dumping ground while I was digging up a metal rod from the garden. I think everything is level now, but in the past two months I have seen the ground settling. I expect I will need to continue to build up the area over the next couple of years, but the worst of it should be done.
.
.
HERB GARDEN (NORTH SIDE)
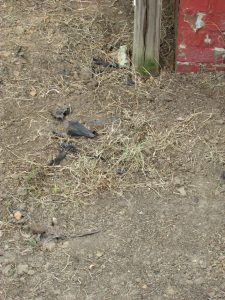 Digging the bed up took a long, long time. The previous owner had laid down a landscaping tarp, let it grow over with grass again, and laid down another landscaping tarp and let it grow over with grass a third time. A shovel wouldn’t break the surface. I ended up having to completely herbicide the whole thing, then rip the weeds out, then remove one layer of tarp, then rip the root out then remove the other tarp.
.
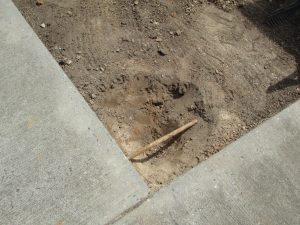 In one area I ran into a pipe. I continue to dig down for a while in the hard clay dirt, but finally succeeded in getting the monster out. Final pit was close to eight inches deep and I have no clue while the pipe was to. You can see it laid out lengthwise in the pit I had to dig for it.
.
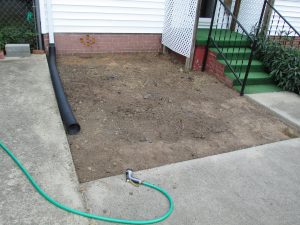 I am finally down to dirt and my present task is digging up the well-compacted clay. I was working on that this weekend with my new tiller-cultivator – my first time using the machine! And my left shoulder “gave”. A week later, I am nearly recovered, but this task is going to take the rest of the year. I don’t think I will get anything into the ground before winter.
.
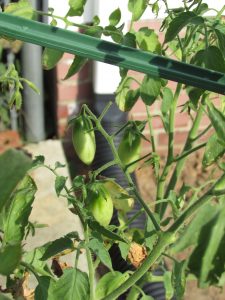 Except for the tomato-mint containers which I planted in June. I had three small tomatoes from the Juliet tomatoes and more are coming. Everything is having problems because of the recent drought. One of my two mint is struggling on the point of death, while the other is going great guns but the tomato it shares a container with is only beginning to think about maybe making one tomato.
.
.
RAISED BED (BASEMENT DOOR)
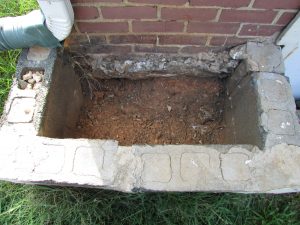 The raised bed by the basement door had a very determined holly bush in it. Every time I cut it back, within a month it was blocking the keyhole again. I couldn’t get out the stump because of angles. In the end a friend helped me yank it away from the cement block and cut out most of it. Here’s hoping it stays dead after a winter. I am thinking of replacing it with Spring Iris and Summer/Autumn Mums.
.
.
TURTLE
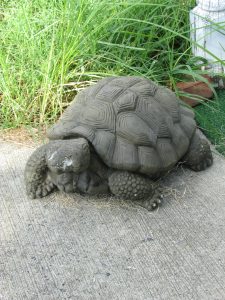
The Turtle for the herb garden made it out of my van and is now guarding the patch of garden which will eventually be it’s home.
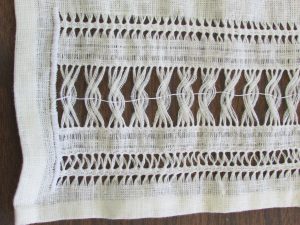
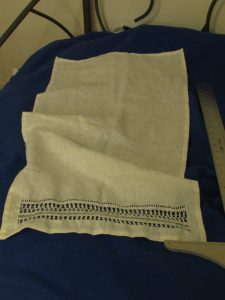 First towel completed (May 19) – 15 hours
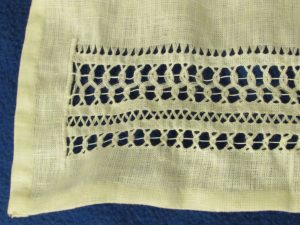
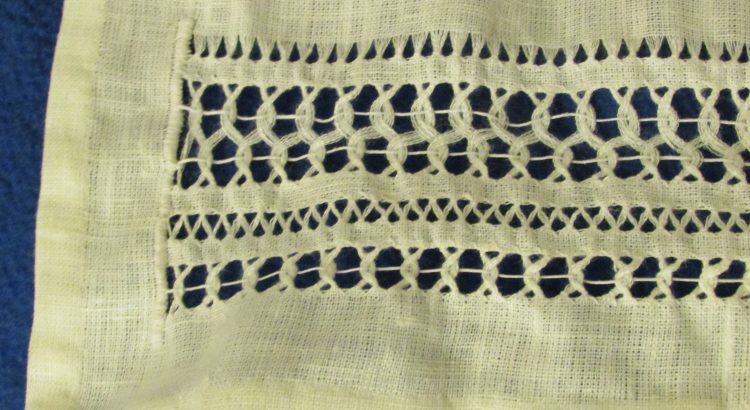
 Second towel completed (May 26)



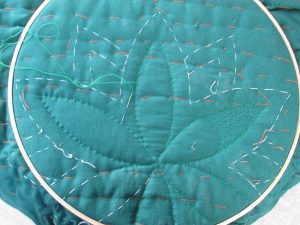 Dancing needles flashing in and out of cloth has been absorbing my art time the past few months. I taught a class on smocking and one on net darning in November and that took a lot of prep work. But I have devoted some time to “me” projects as well.
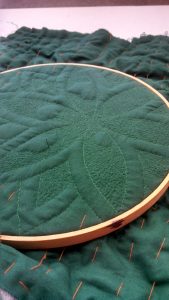 I bounced around a lot, as you can see in the second photo. The leaves were nearly completely speckled, but the big bumps on each of the flower petals still needed work.
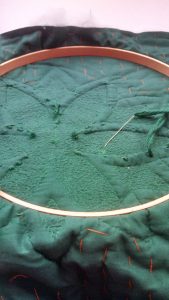 Eventually I got all the outline and speckling done. The last major step of the embroidery part of the project is to run thick yarn through the edges of all the flower petals, raising them even higher next to the matted down speckling. I did though through the back of the project.
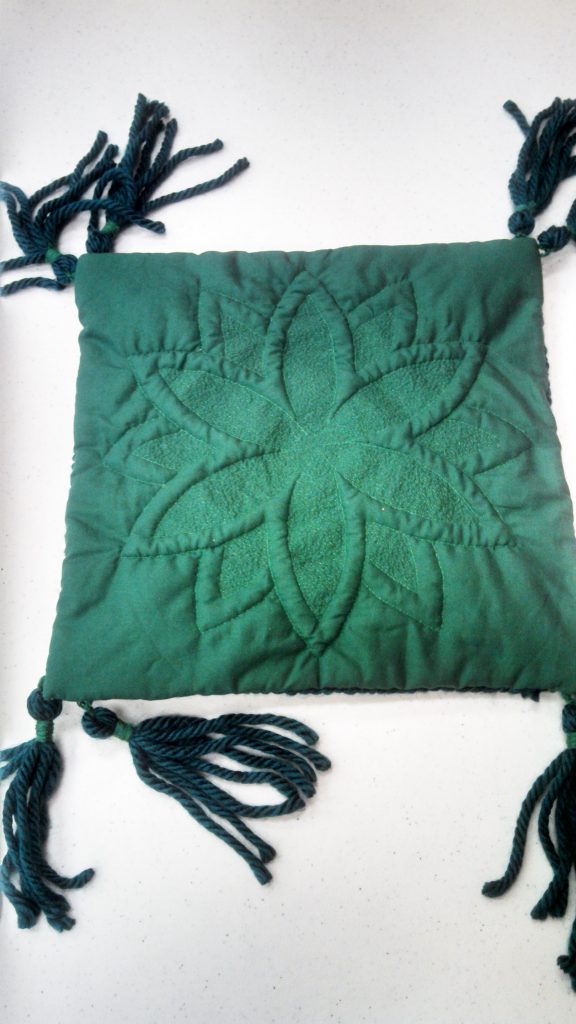
 With the embroidery complete, I needed to back the padded work pillow. I added yarn around the edge to hide where I joined the backing fabric to the embroidery ground.

 ROSE GARDEN
 I am debating just pulling it because of the black spot risk to the red roses.

 Digging the bed up took a long, long time. The previous owner had laid down a landscaping tarp, let it grow over with grass again, and laid down another landscaping tarp and let it grow over with grass a third time. A shovel wouldn’t break the surface. I ended up having to completely herbicide the whole thing, then rip the weeds out, then remove one layer of tarp, then rip the root out then remove the other tarp.
 In one area I ran into a pipe. I continue to dig down for a while in the hard clay dirt, but finally succeeded in getting the monster out. Final pit was close to eight inches deep and I have no clue while the pipe was to. You can see it laid out lengthwise in the pit I had to dig for it.
 I am finally down to dirt and my present task is digging up the well-compacted clay. I was working on that this weekend with my new tiller-cultivator – my first time using the machine! And my left shoulder “gave”. A week later, I am nearly recovered, but this task is going to take the rest of the year. I don’t think I will get anything into the ground before winter.
 Except for the tomato-mint containers which I planted in June. I had three small tomatoes from the Juliet tomatoes and more are coming. Everything is having problems because of the recent drought. One of my two mint is struggling on the point of death, while the other is going great guns but the tomato it shares a container with is only beginning to think about maybe making one tomato.
 The raised bed by the basement door had a very determined holly bush in it. Every time I cut it back, within a month it was blocking the keyhole again. I couldn’t get out the stump because of angles. In the end a friend helped me yank it away from the cement block and cut out most of it. Here’s hoping it stays dead after a winter. I am thinking of replacing it with Spring Iris and Summer/Autumn Mums.